A Photography Exercise for Learning Light
The fastest way to learn light is not to wait for perfect conditions. It is to photograph one subject repeatedly, predict what the light will do, and review the results with discipline.
TL;DR
Use one stable subject and make a comparison set under changing light or changing camera position.
Before each frame, predict brightness, contrast, texture, and subject-background separation.
Review by describing first and judging second; this makes light a trainable skill instead of a vague preference.
Good exposure and good light are different problems; your review should separate them.
Repeat the exercise across portrait, still life, street, and landscape subjects until you can anticipate what the light will do.
The goal is not to memorize lighting terms, but to see how light shapes hierarchy, mood, and clarity.
Serious amateurs often reach a stage where exposure is reliable, focus is fine, and compositions are no longer chaotic, yet the photographs still feel weaker than the experience of being there. At that point, the problem is usually not a missing camera feature. It is a seeing problem, and light is a major part of it. Museum and education materials on photography support this broader view by treating photography as a medium built around visual decisions and formal relationships, not just technical control. Miru's archive makes the same point in more practical terms: light changes shape, attention, mood, and subject separation, so learning light means learning what it does inside the frame, not merely naming conditions.
That is why a useful light exercise should do more than send you out to look for pretty weather. A better exercise teaches comparison and prediction. Instead of asking whether the light looks nice, you ask what will become brightest, where the strongest contrast will fall, whether the subject will separate from the background, and what surfaces will gain or lose texture. Getty's educational materials support the review side of this approach by emphasizing description and formal analysis before judgment, while Miru's own light articles provide a field-ready language for direction, softness, brightness, and contrast.
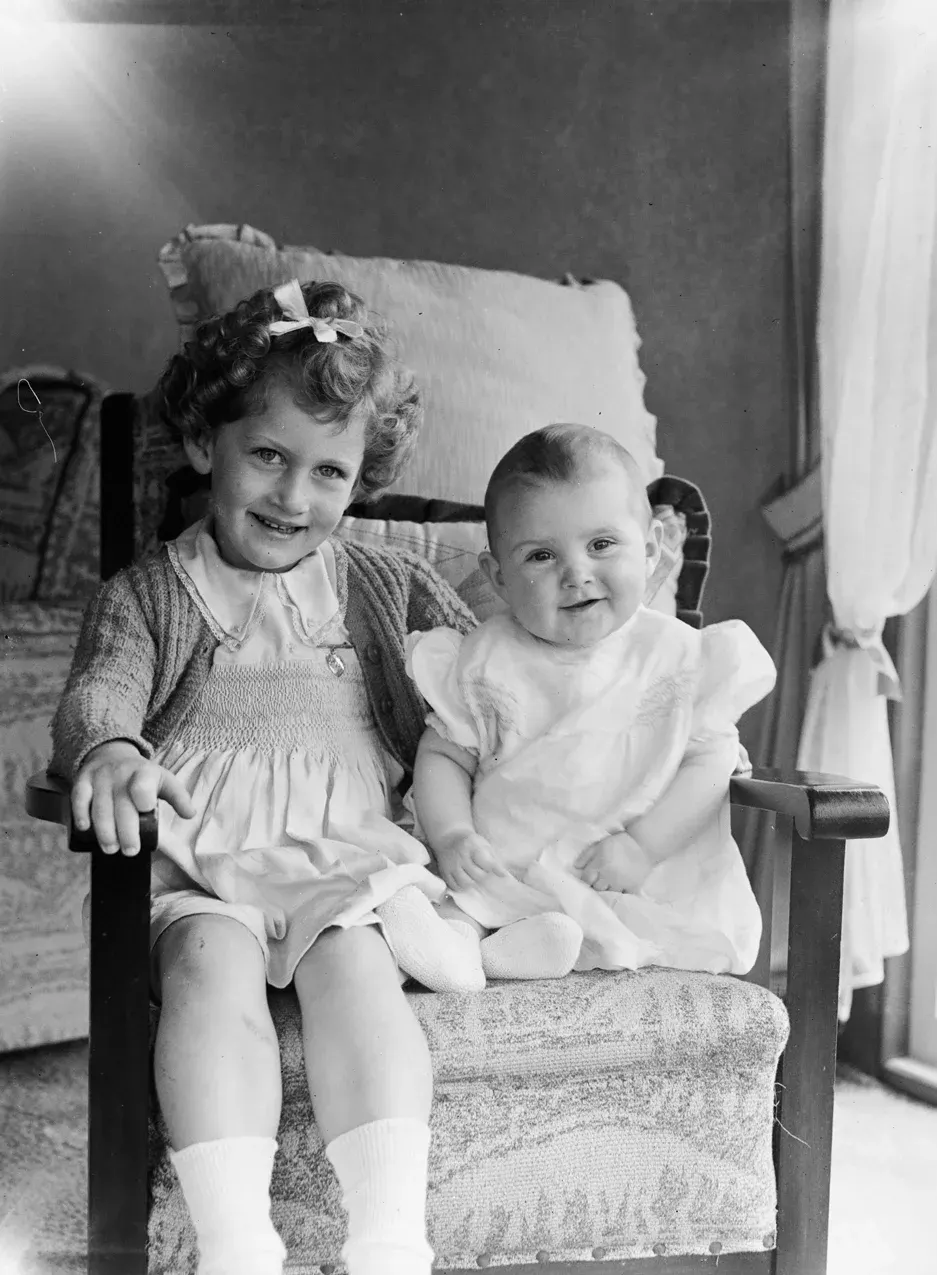
Auckland Museum — CC BY 4.0. Resized and compressed to WebP; visual content unchanged. Original image. License.
Why this exercise works better than generic advice about good light
A lot of photography advice about light collapses into timing slogans: shoot at golden hour, avoid noon, use window light, look for overcast days. Those suggestions can be helpful, but they do not reliably teach you how to read a frame. A serious amateur improves faster by isolating variables and comparing outcomes. Educational sources from Getty and the National Gallery of Art support learning through structured observation, experimentation, and formal analysis rather than rote rules alone.
That matters because light is not only a matter of brightness. In practice, it organizes the picture. It can reveal texture, flatten form, carve out a subject, merge a subject into the background, intensify a bright distraction, or simplify a scene into large graphic shapes. Miru's archive repeatedly returns to this distinction: exposure controls how bright the file is, while light controls how the scene is structured and how the viewer's eye moves through it.
So the exercise in this article is built around one central idea: keep the subject stable enough that you can see what the light changed. Once you do that, light stops feeling mystical. It becomes something you can observe, predict, test, and eventually use on purpose.
A stable subject makes light easier to study because fewer other variables are changing.
Prediction forces attention before exposure.
Comparison reveals what changed better than memory does.
Review turns a pleasant outing into an actual exercise.
Common advice | Limitation | Stronger version |
|---|---|---|
Shoot in nice light | Too vague to teach you what changed | Photograph one subject under several light conditions |
Avoid harsh light | May produce fear instead of understanding | Test hard light and review what it emphasizes |
Use window light | Useful but incomplete | Move around the window and compare direction |
Expose correctly | Necessary but insufficient | Separate exposure problems from light problems |

A tall stained-glass window with strong geometric divisions and glowing color blocks. It is a useful reminder that light can be studied as structure: bright areas, dark areas, repetition, and hierarchy. Photo by CEphoto, Uwe Aranas or alternatively © CEphoto, Uwe Aranas — CC BY-SA 3.0. Resized and compressed to WebP; visual content unchanged. Original image. License.
The exercise: one subject, many light conditions
Choose one subject that stays still and has visible form. A chair near a wall, a face beside a window, a doorway, a potted plant, a building corner, a bicycle, or a tree with a clear outline all work well. The exact subject matters less than its teachability: you want something whose shape, surface, and background relationship change visibly as light or viewpoint changes. This recommendation is an editorial synthesis, but it fits the experimentation-based approach supported by NGA materials and the formal-analysis approach supported by Getty.
Now make a comparison set. You can do this in one session by walking around the subject and changing your position relative to the light, or across several times of day by returning to the same place. Miru's archive already recommends a half-circle approach to see front light, side light, backlight, and shade, and its Light Clock exercise similarly uses one subject across changing light to train anticipation.
A practical target is 6 to 10 frames of the same subject with clearly different conditions. If you change both subject and light constantly, you will learn less. If you keep almost everything fixed except the light or your position, the lesson becomes legible.
Pick one subject with visible shape and some texture.
Keep lens choice and framing broadly consistent at first.
Vary light direction, time of day, or your shooting position.
Make enough frames to compare, not just one or two.
Do not judge in the field too quickly; finish the set first.
Variable to change | What it can reveal | Example |
|---|---|---|
Your position around subject | Direction of light | Walk from front light to side light to backlight |
Time of day | Contrast and shadow length | Return morning, noon, late afternoon |
Sun vs shade | Softness and tonal spread | Move subject just inside open shade |
Distance to background | Subject separation | Shift a portrait away from the wall |
Before each frame, make four predictions
This is the part that turns the drill from casual shooting into deliberate practice. Before each exposure, stop and predict what the light will do. You are not trying to sound clever. You are training yourself to notice consequences before pressing the shutter. Miru's Light Clock exercise uses this predictive habit explicitly, and it is one of the strongest ways to move from reacting to light toward anticipating it.
Use four questions. First: what will be the brightest important area? Second: where will the strongest useful contrast appear? Third: will the subject separate clearly from the background? Fourth: what texture, edge, or shape will become clearer? These questions are a practical field translation of Getty's description and formal-analysis methods, combined with Miru's emphasis on brightest-area control, contrast hierarchy, and subject separation.
If you want a fifth question, add mood, but treat it carefully. Light can suggest calm, tension, clarity, intimacy, or drama, yet those meanings are tendencies rather than fixed laws. Miru's archive is right to treat the emotional side of light as real but context-dependent.
Brightest area: Where will the eye go first?
Strongest contrast: Is the most forceful tonal jump on the subject?
Separation: Does the subject stand apart from the background?
Texture and shape: What becomes more legible under this light?
Optional mood note: What feeling do you expect this version to carry?
Prediction question | Why it matters | Sample note |
|---|---|---|
Brightest area | Brightness often pulls the eye first | Right cheek and curtain edge will dominate |
Strongest contrast | Contrast creates hierarchy | Shadow line on face may become the key structure |
Subject separation | A clear subject reads faster | Dark hair may merge into dark wall |
Texture or shape | Light can describe form or flatten it | Chair fabric should show more texture from the side |
How to vary the light without overcomplicating the exercise
The simplest version is to walk around the subject. Front light tends to make surfaces easy to read, while side light often increases the visibility of form and cast shadows. Backlight can simplify the subject into outline, glow, or silhouette if the shape remains clear, and open shade often lowers harsh contrast. These practical descriptions come from Miru's archive and should be treated as tendencies that need testing in your own frame rather than as absolute rules.
A second version is to keep the camera position similar and let time do the work. Photograph the same scene in morning, midday, afternoon, and late-day light. Watch what happens to shadow length, highlight placement, contrast, and the relative brightness of background versus subject. The point is not to prove that one time of day is best. It is to learn which condition helps your specific picture read clearly.
A third version is especially useful indoors: place a subject near a window and move the subject or yourself in small increments. Near the window, transitions may be stronger and brighter. A few steps away, the light may become dimmer and more even. Turn the subject toward the window, away from it, and across it. Review later to see which version actually supports the subject instead of simply looking conventionally attractive.
Walk a half circle around the subject.
Compare direct sun with open shade.
Return at different times instead of changing the subject.
Indoors, work with a window and small changes in position.
Change one main variable at a time when possible.
Setup | Main variable | What to notice |
|---|---|---|
Walk around subject | Direction | Texture, shape, shadow placement |
Same spot, different times | Sun angle and contrast | Background brightness, shadow length |
Window setup indoors | Distance and turn to light | Face modeling, falloff, separation |
Sun/shade boundary | Softness and brightness range | Harsh edges versus gentle transitions |

A narrow stained-glass window surrounded by darkness. Its strong bright-dark separation makes it a clear visual example of how light establishes hierarchy and directs the eye. Photo by CEphoto, Uwe Aranas or alternatively © CEphoto, Uwe Aranas — CC BY-SA 3.0. Resized and compressed to WebP; visual content unchanged. Original image. License.
How to review the set: describe first, judge second
Most photographers rush the review and ask the wrong question first: which one do I like? Getty's photography teaching materials support a better sequence. Start with description, then reflection, then formal analysis. In plain language: say what is visibly happening before you decide whether the picture is good.
For each frame, write a few literal notes. Where is the brightest area? Where does the eye go first? Are the shadow edges hard or soft? What part of the subject is clearest? What is happening to the background? Miru's article on reading light in your own photos offers almost this exact kind of review routine, especially the habit of squinting to identify the brightest area and asking whether contrast supports the subject or competes with it.
Only after description should you judge. Which frame has the clearest hierarchy? Which one feels most coherent? Which one is well exposed but poorly organized by light? Which one has the intended mood? Which one almost works, and why? This last question is particularly important because near-misses often teach more than obvious failures.
Describe visible facts before stating preferences.
Check brightness, contrast, shadow edge, and subject separation.
Compare your prediction with the actual result.
Identify one successful frame and one near-miss.
State the reason specifically, not vaguely.
Weak review note | Better review note | Why better |
|---|---|---|
Nice light | Bright wall behind subject steals attention | Names the actual problem |
Too flat | Front light hid texture and merged face with wall | Links light to effect |
Moody | Backlight simplified figure into readable shape | Explains what caused the mood |
Bad photo | Curtain highlight is brighter than the face | Gives a fixable reason |
What you are really learning: hierarchy, not just lighting labels
The exercise may begin with front light, side light, backlight, shade, or mixed light, but the deeper lesson is hierarchy. A photograph works when the viewer understands what matters first, second, and less. Miru's archive is especially strong on this point: composition is hierarchy, and light is one of the most powerful ways to create it. The brightest thing, the sharpest tonal jump, and the clearest subject-background separation often decide whether the picture reads quickly or falls apart.
This is also where the exercise becomes useful across genres. In portraiture, you may discover that soft side light gives a face more structure without making the background too loud. In still life, you may learn that a slight change in angle makes texture visible and organizes shadows. In street photography, you may find that waiting for a figure to cross a bright patch is more effective than chasing interesting people randomly. Miru's archive repeatedly supports this move from chasing subjects toward choosing a structure and waiting for the right event to complete it.
Seen this way, learning light is not a niche technical topic. It is one of the main ways photographers learn to make the frame legible. MoMA's materials on The Photographer's Eye support the broader claim that photography is built from medium-specific picture-making problems. Light is one of the clearest arenas in which those problems become visible.
Light tells the viewer where to look.
Light can separate or merge the subject.
Light can clarify texture or suppress it.
Light can simplify a scene into stronger shapes.
Light is a compositional tool, not only an exposure condition.
Genre | Useful question | What the exercise may teach |
|---|---|---|
Portrait | Does the face separate from the background? | Turn the subject or move them away from the wall |
Still life | Where is the most descriptive shadow? | Small angle changes can reveal form |
Street | Where is the clean patch of light? | Wait for a figure instead of chasing |
Landscape | What is the brightest competing area? | Sky or foreground may overpower the subject |
Common mistakes when practicing light
The first mistake is changing too many variables at once. If you change focal length, position, subject distance, background, gesture, and light all together, you may still make a good picture, but you will not learn much about light specifically. Controlled comparison is more educational than uncontrolled variety.
The second mistake is confusing exposure with light. A file can be technically correct and still fail because the subject is poorly separated, the brightest area is irrelevant, or the contrast sits in the wrong place. Miru's archive makes this distinction clearly, and it is one of the most useful habits a serious amateur can develop in editing.
The third mistake is treating attractive light as automatically useful light. Beautiful late sun can still ruin a picture if it lights the background more strongly than the subject or throws attention to an unimportant area. Ordinary light can produce a better photograph if it gives the subject a cleaner hierarchy.
The fourth mistake is stopping at labels. Being able to say side light or backlight is not the real skill. The real skill is being able to explain what that light did to the picture and what you would change next time.
Do not change everything at once.
Do not equate correct exposure with effective light.
Do not assume attractive light serves the picture.
Do not stop at naming the light; analyze its effect.
Mistake | What it looks like | Correction |
|---|---|---|
Too many variables | Every frame differs in several ways | Keep subject and lens more consistent |
Exposure-light confusion | Technically clean but weak frame | Ask whether light supports the subject |
Pretty-light bias | Bright background outshines main subject | Judge hierarchy, not atmosphere alone |
Label-only thinking | I used backlight | Add what the backlight actually did |
A one-week practice plan
If you want this exercise to produce real improvement, repeat it across several days instead of doing it once as a novelty. Miru's broader articles on developing your eye emphasize that better seeing comes from repeated attention to one visual problem at a time, followed by honest review. Light is ideal for this because the problem is visible and repeatable.
Day 1: choose a simple indoor subject by a window and compare several positions. Day 2: return to the same setup and make predictions before every frame. Day 3: repeat outdoors with a tree, bicycle, doorway, or building corner. Day 4: photograph the same subject in shade and direct light. Day 5: review all sets without shooting and annotate the strongest and weakest frame from each group. Day 6: do one genre-specific version, such as a portrait or still life. Day 7: make one intentional photograph using what you learned rather than a full comparison set.
By the end of the week, the goal is not a portfolio of masterpieces. The goal is evidence that your predictions are getting better. You should begin to notice bright distractions sooner, anticipate when side light will reveal useful shape, and recognize when a subject needs a darker or calmer background to read clearly. That shift is the real gain.
Repeat the drill for several days.
Use both indoor and outdoor subjects.
Reserve one day for review only.
Track whether your predictions improve.
Finish by making one deliberate photograph from what you learned.
Day | Task | Main lesson |
|---|---|---|
1 | Window-light comparison set | Read direction and brightness |
2 | Same setup with written predictions | Train anticipation |
3 | Outdoor fixed subject | Compare natural light structure |
4 | Sun versus shade | See contrast and softness changes |
5 | Review only | Separate fact from preference |
6 | Genre-specific version | Apply lesson to your work |
7 | One intentional final image | Use light deliberately |
The fastest way to learn light is to stop waiting for magic and start running comparisons. Choose one subject, vary the light or your position, predict what will happen, and review the results with precision. That process teaches something more useful than lighting vocabulary: it teaches you to see what light reveals, hides, flattens, separates, and prioritizes. Over time, you will need the checklist less because the observations become faster and more intuitive. But the underlying skill remains the same. You are learning to recognize what the light is doing to the photograph before the photograph is made.
Sources and further reading
https://www.getty.edu/education/teachers/building_lessons/formal_analysis.html
https://store.moma.org/products/the-photographers-eye-paperback
https://www.getty.edu/education/teachers/building_lessons/formal_analysis2.html
https://assets.moma.org/documents/moma_press-release_326341.pdf
https://www.nga.gov/educational-resources/teaching-resources
https://www.getty.edu/education/for_teachers/curricula/exploring_photographs/lesson_plan_index.html
https://www.moma.org/docs/press_archives/3800/releases/MOMA_1966_July-December_0106_150.pdf