How to Use Layers in Photography
A practical guide for serious amateur photographers who want to build depth, hierarchy, and stronger visual relationships in their images.
At a certain point, you stop needing another lens review and start needing a better way to see. You already know how to make a sharp photo. You understand exposure. You have heard the advice about foreground, middle ground, and background. But your pictures may still feel flat, crowded, or obvious.
Layering is one of the skills that moves a photographer past that stage. A layered photograph gives the viewer more than one thing to discover. It has a near plane, a deeper plane, and often a path between them. The frame does not feel like a subject pasted on a background. It feels like a small world with distance, relationships, and order.
Good layering is not about stuffing more objects into the picture. It is about deciding which parts of the scene belong in the frame, how they sit in front of or behind each other, and how the viewer's eye should travel through them.

Photo: sagesolar, "Transit becomes ritual," 2025. Licensed CC BY 4.0 via Wikimedia Commons. Source: https://commons.wikimedia.org/wiki/File:Transit_becomes_ritual_-_Flickr_-_sagesolar.jpg
Layers Are Relationships, Not A Formula
The simple version of layering is foreground, middle ground, background. That is useful as a starting point, but it can become mechanical. A rock in the foreground does not automatically improve a landscape. A blurry leaf in front of a portrait does not automatically create depth. A street photo with ten people is not stronger just because it is busy.
A better definition is this: layers are distinct visual events inside the frame. They may be separated by distance, tone, color, focus, shadow, reflection, or meaning. One layer might be a foreground railing. Another might be a person crossing the street. Another might be a sign, mountain, window, doorway, or patch of light in the distance.
The question is not "Do I have three layers?" The question is "Does each layer have a job?" A foreground can invite the viewer in, frame the subject, create scale, or make the camera feel hidden. A midground can hold the main action. A background can give context, mood, destination, or contrast. If a layer does none of those things, it may just be clutter.
Start By Moving, Not Zooming
The most important layering tool is camera position. Focal length changes what fits in the frame, but where you stand changes the relationships between objects. Move a few inches left, and a person's head may separate from a pole. Kneel down, and a subject may move from a busy storefront into open sky. Step closer, and the foreground becomes large enough to establish scale.
Before changing lenses, do a quick position check. Move left and right. Raise and lower the camera. Step closer and farther. Watch what touches, overlaps, separates, and lines up. Small movements can solve problems that no aperture, preset, or crop can fix later.
This is especially important with people. In the moment, you may notice the gesture or expression first. The camera records the whole rectangle. If two figures merge, if a sign grows out of a head, or if a bright background cuts through the subject, the photograph may lose its structure even though the moment was good.
Overlap Creates Depth
Overlap is one of the clearest ways a flat photograph suggests depth. When one shape partially blocks another, the viewer understands that one thing is in front and the other is behind it. This can be simple, like a tree in front of a hill, or complex, like several people crossing different parts of a street.
The important distinction is between clean overlap and accidental merger. Clean overlap helps the viewer understand front and back. A merger makes separate subjects collapse into one confusing shape. A tangent is the awkward middle ground: two edges just touch, like a head touching a horizon or a shoulder touching a pole. Tangents often feel accidental because the viewer cannot read the spacing.
Train yourself to watch edges as much as subjects. In a layered scene, the edge of a person, doorway, car, tree, or shadow is where the picture either becomes legible or falls apart. A small step may create a clean strip of space between two shapes. That strip can matter more than the subject's expression.
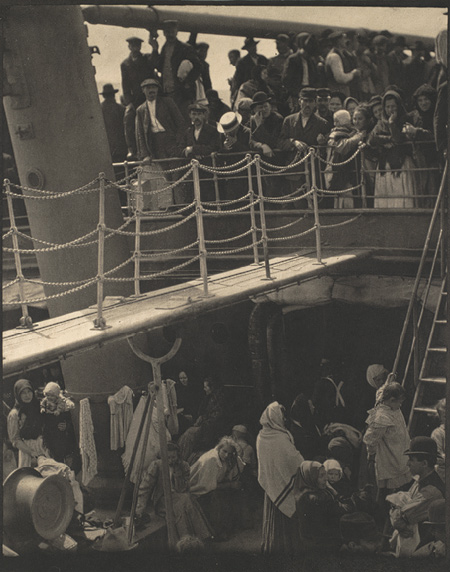
Photo: Alfred Stieglitz, "The Steerage," 1907. Public domain via Wikimedia Commons. Source: https://commons.wikimedia.org/wiki/File:The_Steerage_1907_Stieglitz.jpg
Use Lines To Connect Planes
Leading lines are useful only when they connect the image. A road that enters the frame, passes through the middle ground, and leads toward a distant subject is doing real work. A curb that points out of the frame is just a line.
Look for lines that move attention from near to far: rivers, paths, rails, staircases, fences, shadows, walls, rows of lights, repeated windows. The best lines do not merely point at the subject. They make the viewer experience distance.
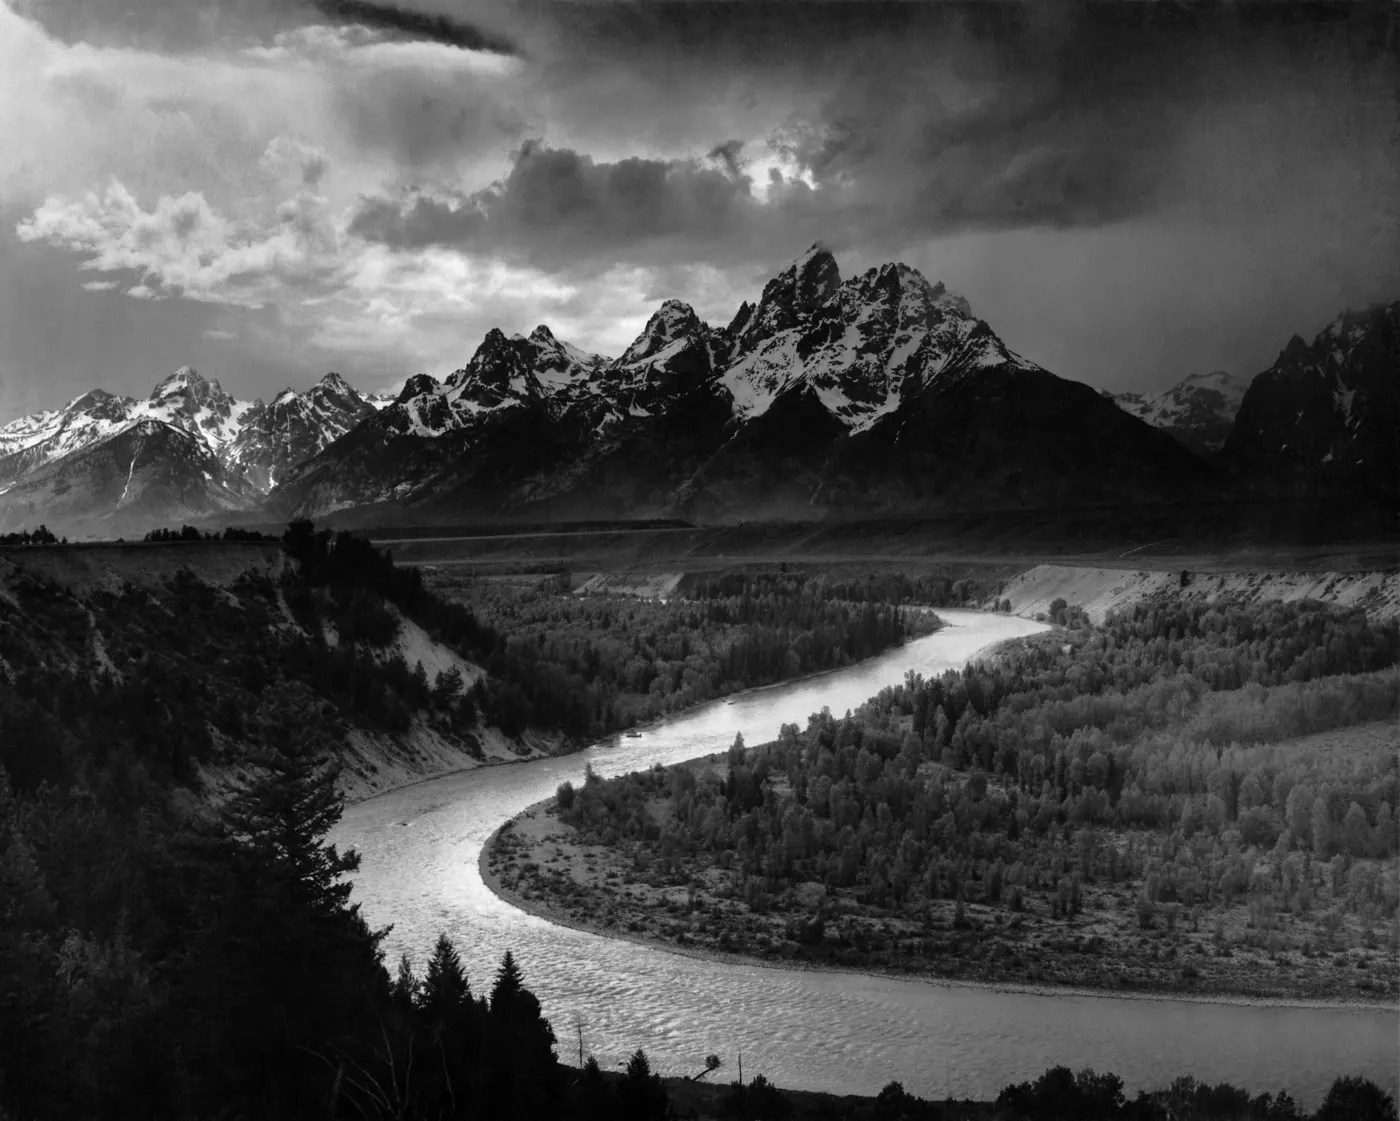
This is why landscapes often need a visual route. A strong foreground and a beautiful mountain can still feel disconnected if nothing links them. A river, trail, ridge, light pattern, or repeated shape can become the bridge. Without that bridge, the photo may feel like stacked horizontal bands.
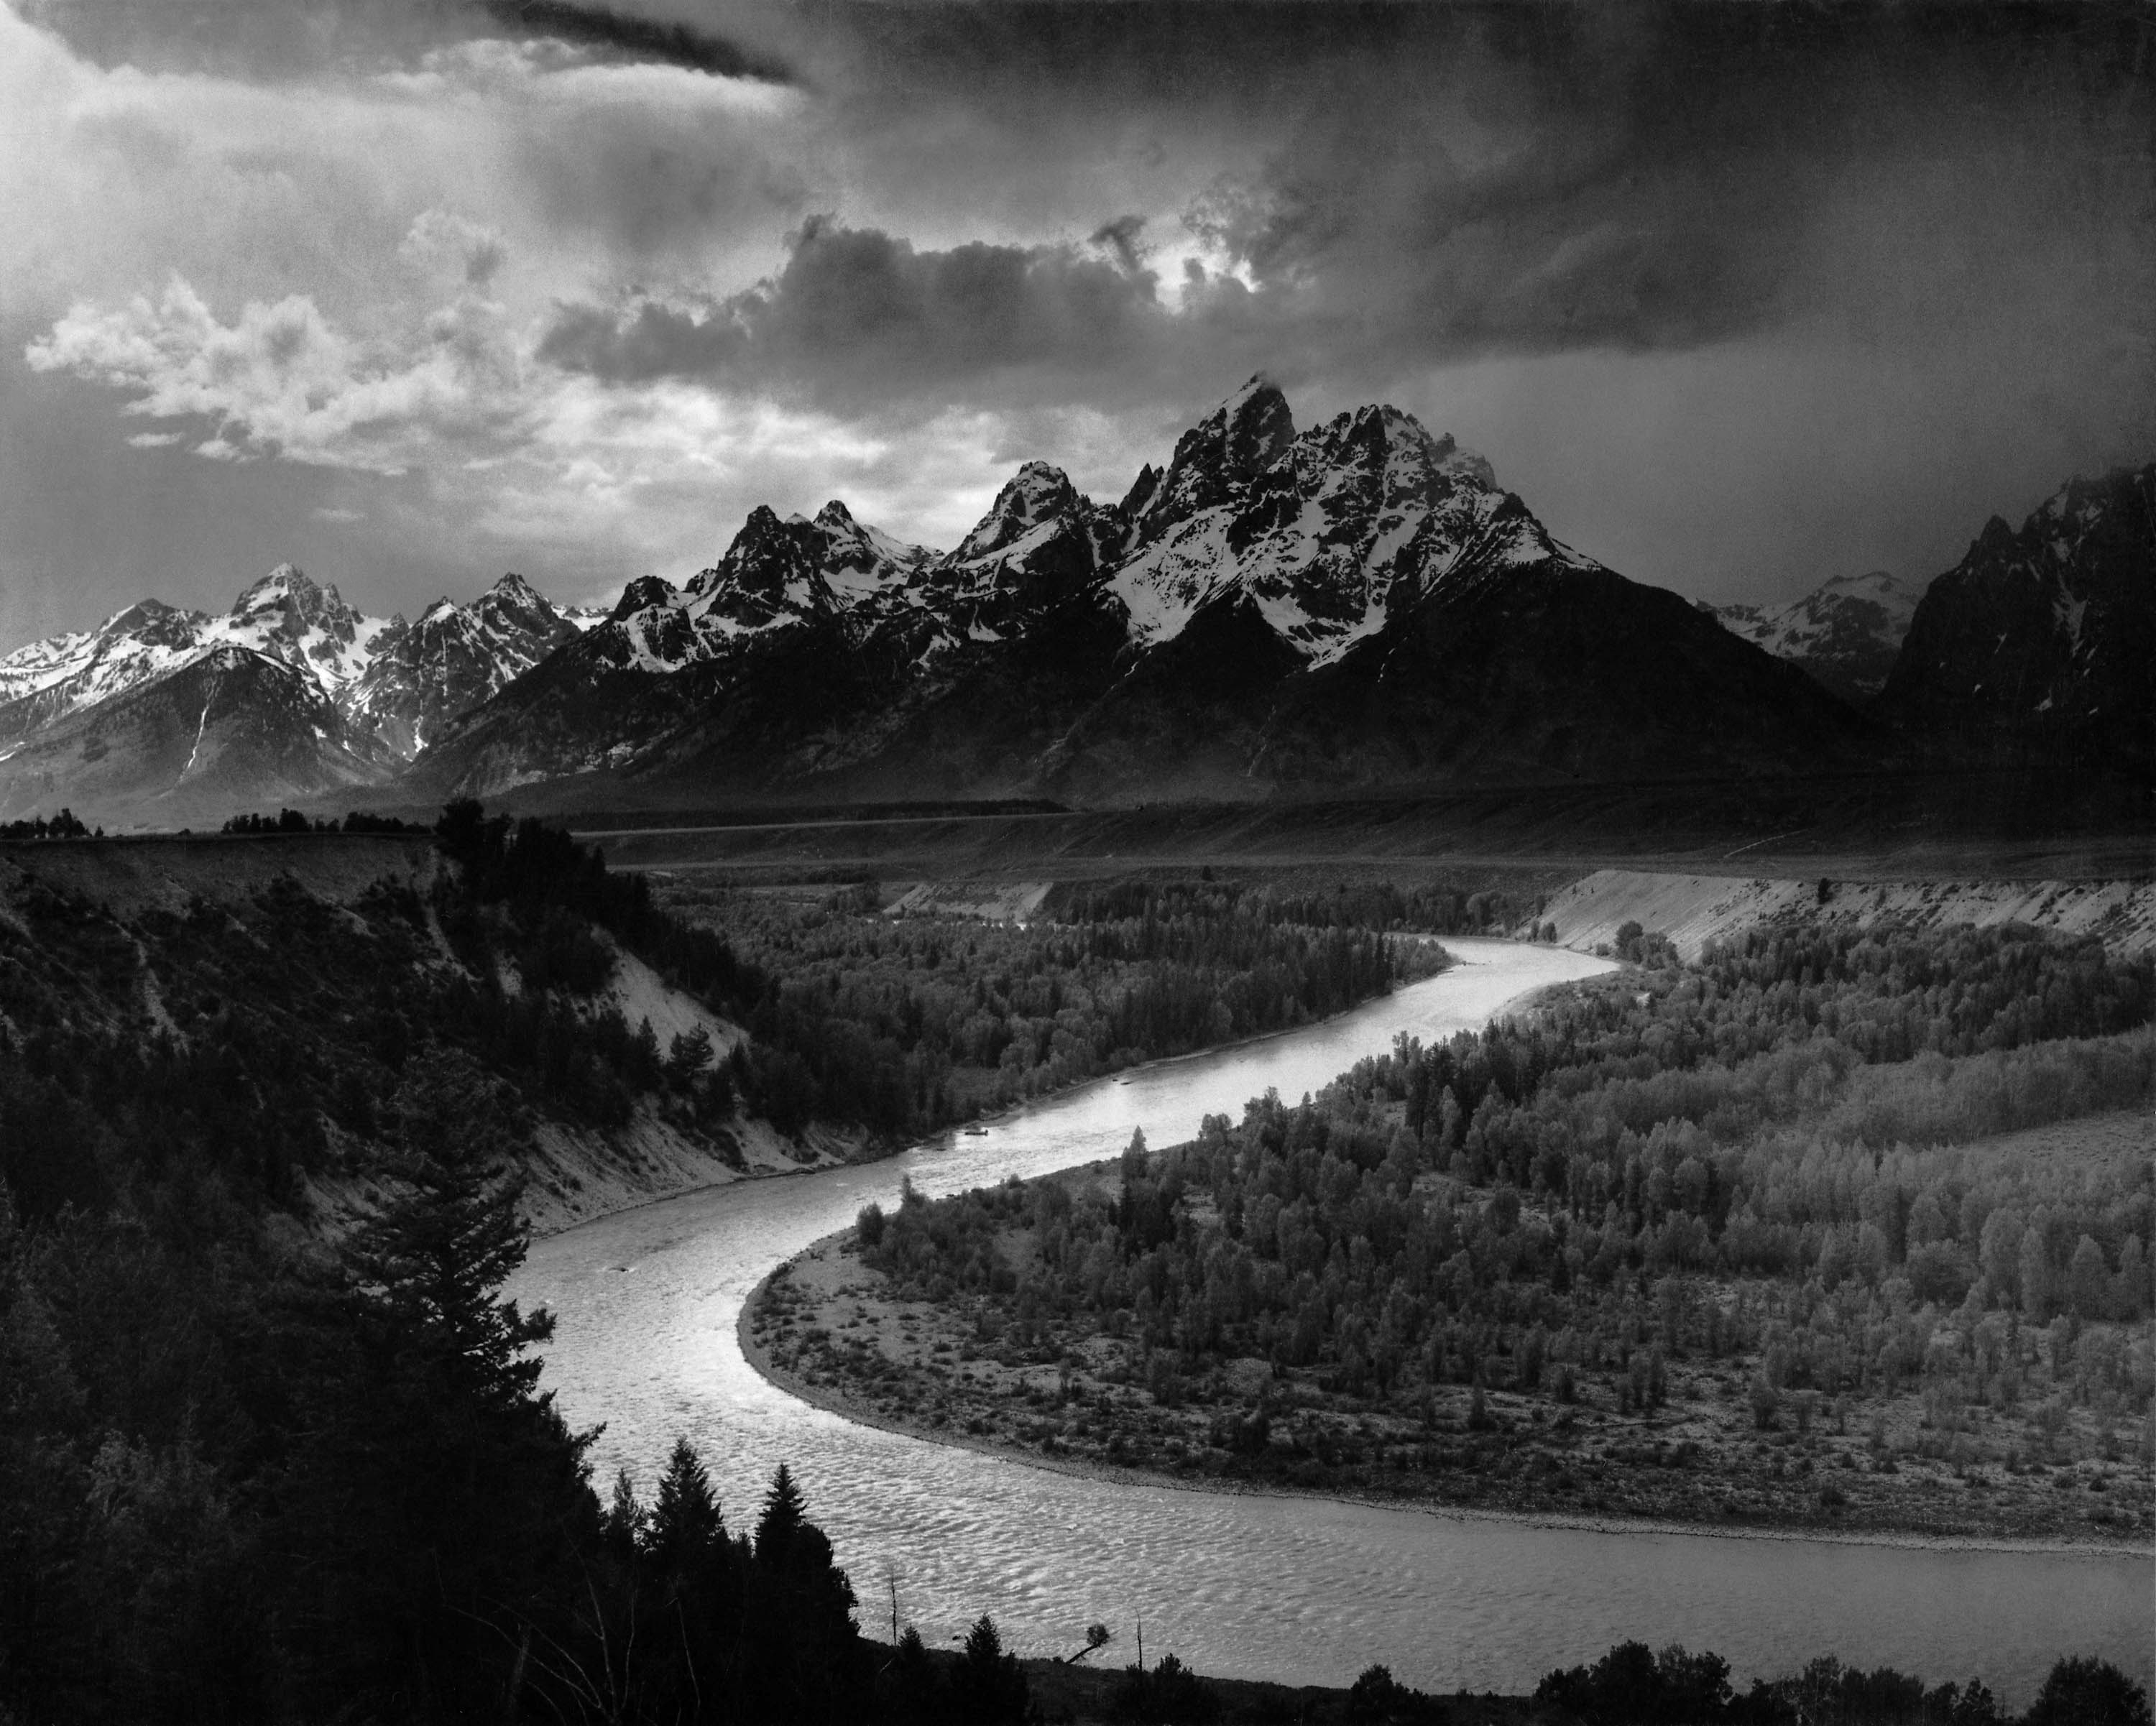
Photo: Ansel Adams, "The Tetons and the Snake River," 1942. National Archives and Records Administration, public domain via Wikimedia Commons. Source: https://commons.wikimedia.org/wiki/File:Adams_The_Tetons_and_the_Snake_River.jpg
Separate Layers With Tone And Color
A scene can have physical depth and still photograph as flat. This often happens when adjacent layers share the same brightness or color. Dark hair against a dark doorway, a pale jacket against a pale wall, or a tree line against a mountain of the same tone may merge in the final image.
Tonal separation means placing important shapes against backgrounds they can be read against. Sometimes you solve this by moving. Sometimes you wait for different light. Sometimes you expose or edit so the subject and background no longer collapse into each other.
Color can do the same work. A red coat against blue-gray buildings may stay readable even if the brightness values are close. A warm foreground and a cooler distance can create depth. But color should serve hierarchy. If the brightest, most saturated thing in the frame is not important, the viewer will probably go there first.
When editing, do not make every layer equally dramatic. That is a common mistake with modern local masks. If the foreground, subject, sky, distant buildings, and shadows all get maximum clarity and saturation, the picture becomes loud but shallow. A mature edit often means improving the main layer and letting supporting layers stay quieter.
Let Focus Rank The Layers
Depth of field is not just a technical choice. It is a way to decide how much information each layer should carry. Deep focus connects layers. Shallow focus ranks them.
Use deeper focus when the relationship between near, middle, and far matters: landscapes, architecture, environmental portraits, and street scenes where several gestures need to be readable. Use shallow focus when one layer should clearly dominate and the others should become atmosphere, obstruction, or context.
The question is not "How much blur can I get?" The question is "How much does the viewer need to know about each plane?" A blurred foreground can still work if it makes the viewer feel like they are looking through something. A sharp background can work if it gives the subject meaning. Blur is useful when it clarifies the image. It is weak when it replaces composition.

Photo: Talia Roter / PikiWiki Israel, "Reflection of Jerusalem through a window of Israel Museum," 2012. Licensed CC BY 2.5 via Wikimedia Commons. Source: https://commons.wikimedia.org/wiki/File:PikiWiki_Israel_36907_reflection_of_Jerusalem_through_a_window_of_Israel_Museum.jpg
Photograph Through Things
One of the most effective ways to build layers is to photograph through something: glass, curtains, foliage, doorways, railings, people, steam, reflections, or windows. This gives the viewer a position. They feel inside, outside, hidden, close, or separated from the subject.
The foreground does not have to be sharp. It does have to be purposeful. If it blocks important information, it weakens the image. If it creates mystery, depth, tension, or a stronger sense of place, it earns its space.
A good test is to imagine removing the foreground. If the image becomes cleaner but less interesting, the layer is probably working. If the image simply becomes better, the foreground was decorative clutter.
Build A Simple Layering Habit
Use this short checklist before you commit to a frame:
What is the main visual event?
What is in front of it?
What is behind it?
What touches its edges?
Is there a clean path from near to far?
Does tone, color, or focus separate the important layers?
Which layer should be seen first, second, and third?
At first this will slow you down. That is fine. The goal is not to become slow forever. The goal is to make these checks automatic. Eventually you start seeing the whole rectangle sooner.
Miru is useful for this kind of growth because layered photographs often fail in subtle ways. A frame may contain a good subject but still send attention to the wrong plane. A background may be more powerful than you noticed. A foreground may look interesting but have no purpose. Critique helps when it shows you what the viewer actually sees first.
Practice: One Scene, Twelve Positions
Find a scene with at least three distances: for example, a railing, a person, and a storefront; or flowers, a path, and a building; or a window, a room, and the street outside. Make twelve photographs without changing the scene itself.
Change only your position. Move left, center, and right. Shoot low, eye-level, and high. Step closer and farther. Do not zoom until the end. Your job is to watch how the layers change.
When you review the files, look for three things. First, where did a small move create better separation? Second, where did it create a bad merger? Third, which version gives the viewer the clearest path through the frame? This exercise teaches the lesson most photographers skip: layering is built with your feet before it is refined with your settings.
Practice: Make The Background Matter
For one shoot, do not chase subjects. Choose a background that already has structure: a window, staircase, wall of light, bridge, market, station, doorway, or street corner. Then wait for the right person, vehicle, shadow, or gesture to enter.
This reverses the usual habit. Instead of finding a subject and hoping the background behaves, you build the frame first. The subject becomes the event that completes the layers.
This is hard, but it is exactly the kind of hard that develops your eye. You learn to predict where figures will overlap. You learn when to wait half a second longer. You learn that a tiny gap between two people can decide whether the image reads or collapses.
Practice: Edit By Layer
When processing a promising image, name the layers before moving sliders. Foreground. Main subject. Middle distance. Background. Then ask what each one should do.
Maybe the foreground needs a little detail but not full attention. Maybe the main subject needs the strongest contrast. Maybe the background should stay softer so it supports the image without taking over. Maybe a bright sign needs to be darkened because it is stealing the first look.
Avoid the temptation to improve everything. A layered photograph needs hierarchy. Some parts should lead. Some should support. Some should be discovered late. If every plane is sharpened, brightened, saturated, and clarified, the image may become technically impressive but visually exhausting.
How To Know It Is Working
A layered photograph is working when the viewer can enter the frame, move through it, and discover more without getting lost. It does not have to be simple. It does need order.
Test your own images at thumbnail size. Where does your eye go first? Is that the right place? Then view the photo large and inspect every edge where one layer meets another. Are there mergers, halos, tangents, or bright distractions? Finally, temporarily convert the image to black and white. If the whole structure collapses, color may be carrying more weight than you realized.
Progress looks like this: you notice background problems before taking the picture. You move a few inches because you know exactly what will change. You stop using foregrounds just because they are available. You choose blur only when it helps. You edit some layers down instead of pushing every layer up.
That is the real value of learning layers. You stop photographing isolated subjects and start building relationships inside the rectangle. For a serious amateur photographer, that shift is often more powerful than another upgrade, another preset, or another tutorial.
Photo Sources And Attribution
sagesolar, "Transit becomes ritual," 2025. CC BY 4.0 via Wikimedia Commons. Image URL: https://upload.wikimedia.org/wikipedia/commons/b/bf/Transit_becomes_ritual_-_Flickr_-_sagesolar.jpg Source: https://commons.wikimedia.org/wiki/File:Transit_becomes_ritual_-_Flickr_-_sagesolar.jpg License: https://creativecommons.org/licenses/by/4.0
Alfred Stieglitz, "The Steerage," 1907. Public domain via Wikimedia Commons. Image URL: https://upload.wikimedia.org/wikipedia/commons/c/c9/The_Steerage_1907_Stieglitz.jpg Source: https://commons.wikimedia.org/wiki/File:The_Steerage_1907_Stieglitz.jpg
Ansel Adams, "The Tetons and the Snake River," 1942. National Archives and Records Administration, public domain via Wikimedia Commons. Image URL: https://upload.wikimedia.org/wikipedia/commons/2/21/Adams_The_Tetons_and_the_Snake_River.jpg Source: https://commons.wikimedia.org/wiki/File:Adams_The_Tetons_and_the_Snake_River.jpg
Talia Roter / PikiWiki Israel, "Reflection of Jerusalem through a window of Israel Museum," 2012. CC BY 2.5 via Wikimedia Commons. Image URL: https://upload.wikimedia.org/wikipedia/commons/f/fa/PikiWiki_Israel_36907_reflection_of_Jerusalem_through_a_window_of_Israel_Museum.jpg Source: https://commons.wikimedia.org/wiki/File:PikiWiki_Israel_36907_reflection_of_Jerusalem_through_a_window_of_Israel_Museum.jpg License: https://creativecommons.org/licenses/by/2.5